
See all blog posts in this series:
- OpenShift Virtualization on IBM Cloud, part 1: Introduction
- OpenShift Virtualization on IBM Cloud, part 2: Becoming familiar with VPC
- OpenShift Virtualization on IBM Cloud, part 3: Deploying ROKS, ODF, and OCP Virt
- OpenShift Virtualization on IBM Cloud, part 4: Creating a virtual machine
- OpenShift Virtualization on IBM Cloud, part 5: Migrating a virtual machine
- OpenShift Virtualization on IBM Cloud, part 6: Backup and restore
- OpenShift Virtualization on IBM Cloud, part 7: Dynamic resource scheduling
In this article we will work through the steps of creating a ROKS cluster, deploying and configuring prerequisites for OpenShift Virtualization, and installing OpenShift Virtualization.
Create ROKS instance
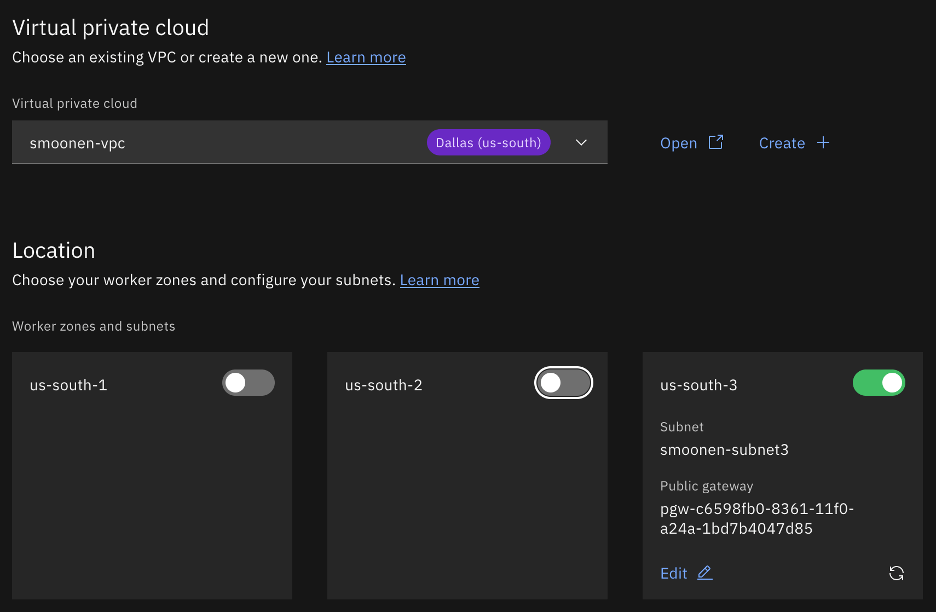
Click on the IBM Cloud hamburger menu and select Containers | Clusters. Click Create cluster. Ensure that RedHat OpenShift is selected and VPC is selected. Choose your VPC and select the region and zone(s) of interest. For the purpose of my testing I am creating a single zone.
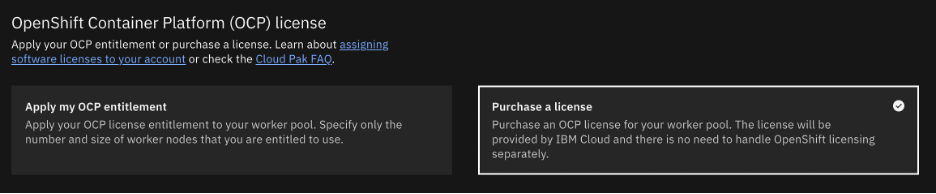
Select OCP licensing as you require. In my case I needed to purchase a license.
Take care in your selection of worker nodes. Currently virtualization is supported only with bare metal worker nodes. In my case I selected three bare metals each with some amount of extra storage which I will use for Ceph/ODF software-defined storage.

If you wish, encrypt your worker node storage using Key Protect.

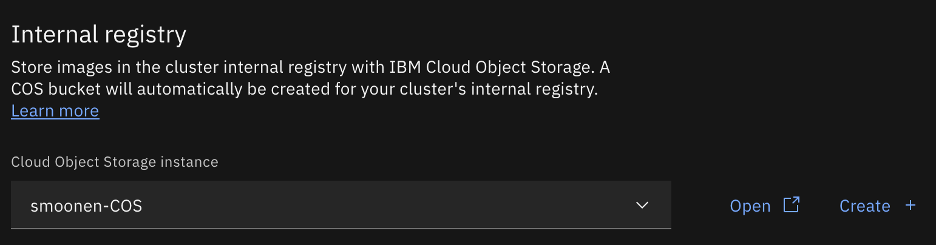
I chose to attach a Cloud Object Storage instance for image registry.
I thought at first that I would enable outbound traffic protection to learn how to make use of it. However, the OpenShift Virtualization operator documentation indicates that you should disable it.

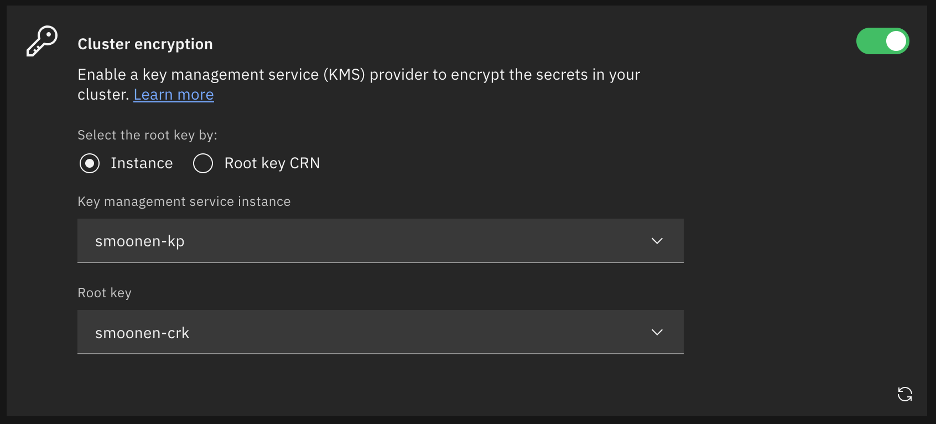
I selected cluster encryption as well.
At present I chose not to leverage ingress secrets management or custom security groups.

Enable activity tracking, logging, and monitoring as needed, then click Create.
Note: it is wise to open a ticket to ask for assistance from IBM Cloud support to check for bare metal capacity in your chosen VPC region and zone. In my case my first deployment attempt failed as insufficient bare metals of my selected flavor were available in the zone; this is why I have a jump server in zone 1 but workers in zone 3. Although my second deployment had one host fail, this was not due to capacity but apparently to an incidental error. Redeploying a new worker in its place worked fine. It’s difficult to assess the total deployment time in light of these errors, but I would guess it was somewhere between 2-3 hours.
Check NVMe disks
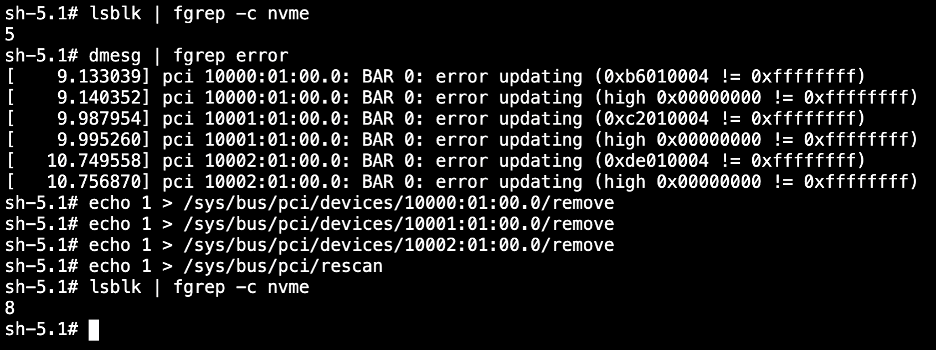
At the time of this writing, recent CoreOS kernel versions appear to have a bug where several NVMe drives are not properly mounted. After the cluster is provisioned, login to the OpenShift web console and use the Terminal feature on each host to display whether your system has all of its NVMe disks. For example, the profile I deployed should have 8 disks. If there are missing disks, follow the steps in the screenshot below to rediscover them, using the ids from the error messages.
Once your drives are all present, you can proceed to install OpenShift Data Foundation (ODF), which is currently a requirement for OpenShift Virtualization.
Install OpenShift Data Foundation (ODF)
ODF is a convenient wrapper for software-defined storage based on Ceph. It is the OpenShift equivalent of VMware vSAN. In this case I’m deploying a single zone / failure domain, with a default configuration of 3-way mirroring, but ODF is able to provide other configurations including multiple zonal fault domains.
Because it must be licensed and in order to provide other custom integrations with IBM Cloud, the ODF installation is driven from the IBM Cloud UI rather than from the OpenShift OperatorHub. In the IBM Cloud UI, on your cluster’s Overview tab, scroll down and click Install on the OpenShift Data Foundation card.

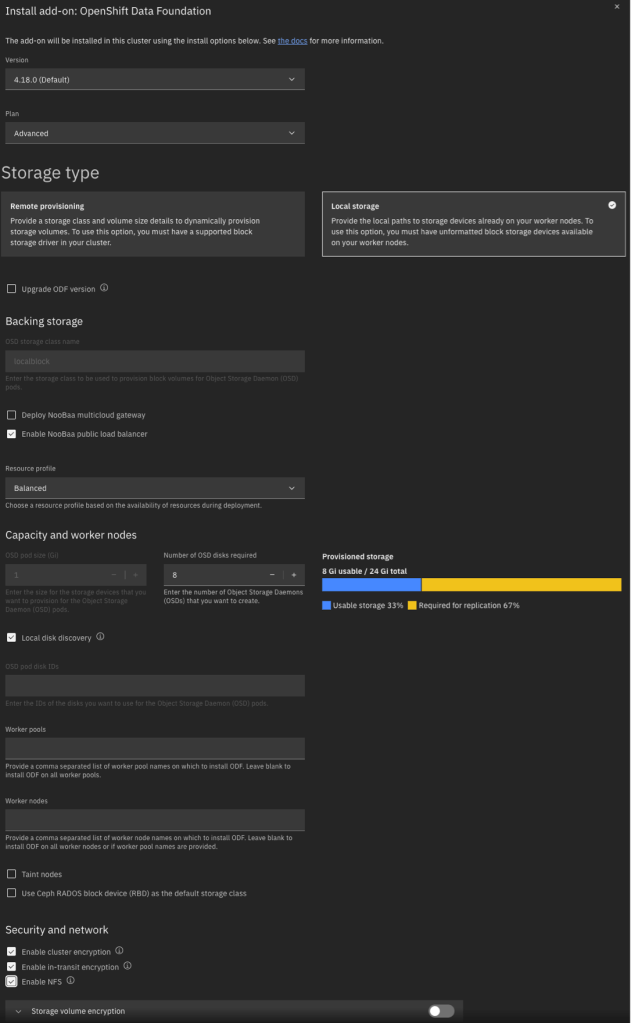
Below is an example of the input parameters I used. Note that I did not enable volume encryption because the integration with KP and HPCS was not clear to me. Most importantly, you should be careful with the pod configuration. For local storage, ignore the fact that the pod size appears to be 1GiB. This simply indicates the minimum claim that ODF will attempt; in reality it will be greedy and will make use of your entire NVMe drive. Also for the number of pods, specify the number of NVMe disks on each host that you want to consume. Although I have three hosts, I have 8 NVMe disks on each host and wish to use all of them. For this reason I specified a pod count of 8.
Note that it takes some time to install, deploy, and configure all components.
Install OpenShift Virtualization
After the ODF installation completes, you need to install the OpenShift Virtualization operator using the OpenShift CLI (oc). Although the IBM Cloud CLI has an “oc” operator, this is not a proxy for the oc CLI but rather an alias for IBM’s ks plugin. I performed the following steps:

First, in the IBM Cloud UI, click through to the OpenShift web console. In the top-right corner, click the ? icon and choose Command Line Tools. Download the tool appropriate to your workstation.
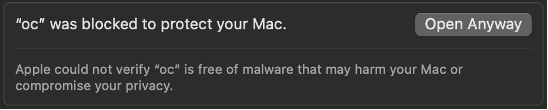
In my case, on MacOS, I had to override the security checks for downloaded software. I attempted to run oc and received an error. I then opened the System Settings app, selected Privacy & Security, scrolled to the bottom, and selected “Open Anyway” for oc.

Then, in the IBM Cloud UI, I clicked through to the OpenShift web console. In the top-right corner I clicked on my userid and then selected Copy login command. Then I ran the login command on my workstation.
Finally, I followed the IBM Cloud instructions for installing the OpenShift Virtualization operator. Because I intend to use ODF/Ceph storage rather than block or file, I performed the step to mark block as non-default, but I did not install or configure file storage.
I have some thoughts on what the upgrade process might look like for ODF / Ceph when upgrading my cluster and worker nodes. I’m waiting for a new supported release of ODF to test these out and will post my experience once I’ve had a chance to test it.
